The IR Aerials team was asked to immediately get our boots on the ground and drones in the air to start assessing property conditions after Hurricane Ida passed through. Our team has made multiple trips to Louisiana providing rapid response condition assessments and helping property owners perform moisture mapping surveys on commercial properties.
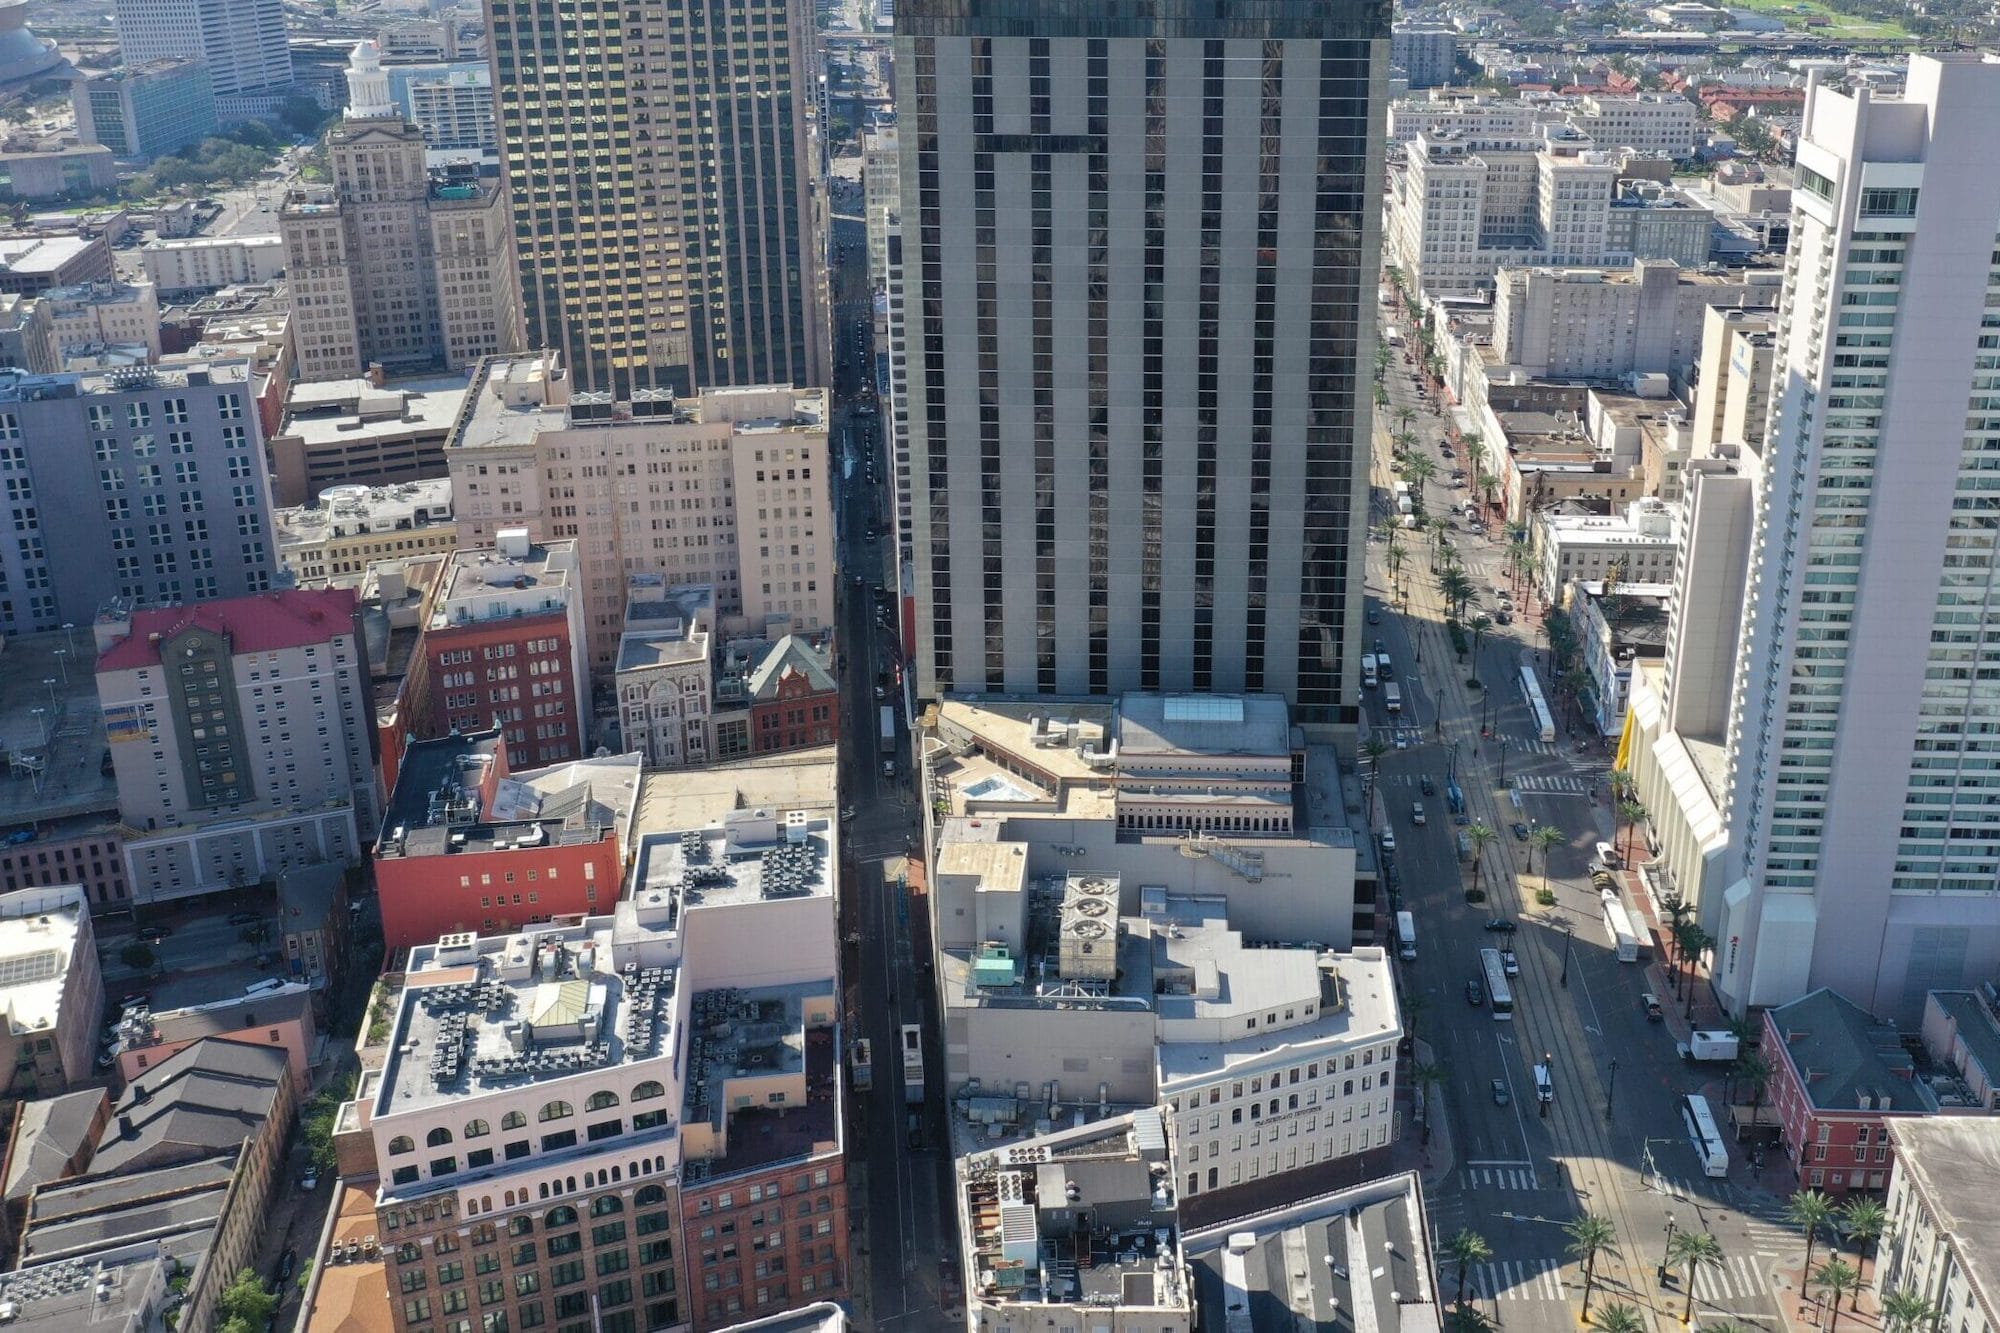
This deployment involved one of the buildings in the downtown New Orleans area that experienced heavy wind driven rains that equated to moisture intrusion primarily on the west face of the building.
We put each building we work on through a similar process to document exterior conditions with visible imagery and understand internal moisture content through thermal imagery. We follow ASTM standards C1153 and C1060 for best practices in locating suspected moisture in roof and envelope cavity systems. Maintaining consistency in our process is crucial to achieving favorable results that paint the most reliable picture possible.
Visible Imaging
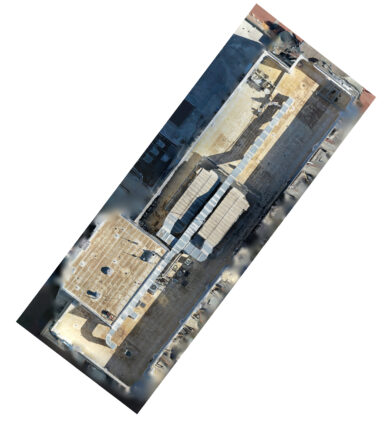
Our first step in the inspection process is to perform visible imagery studying the exterior condition of the building envelope. This process can be captured in various different ways depending on the desired result. The question that needs to be answered to determine how this is portion of the project is completed is based on how much detail needs to be seen? In this case, the roof did not require any great detail. The facade structure required enough detail to study the exterior condition, but not see window sealant conditions. These images are captured systematically to ensure the whole building is documented in detail and in a manner that allows you to pinpoint problems and correlate exactly where they are on the structure to plan a physical inspection off of. For example, if you are reviewing image 545 of 906, you need to know the portion of the building that image references. Not only are we studying the images for exterior conditions, we are using the images to compare to the thermal images. We knew moisture was getting in the structure as there were over 100 interior spaces that were being dried out, the question was how or why was it getting in.
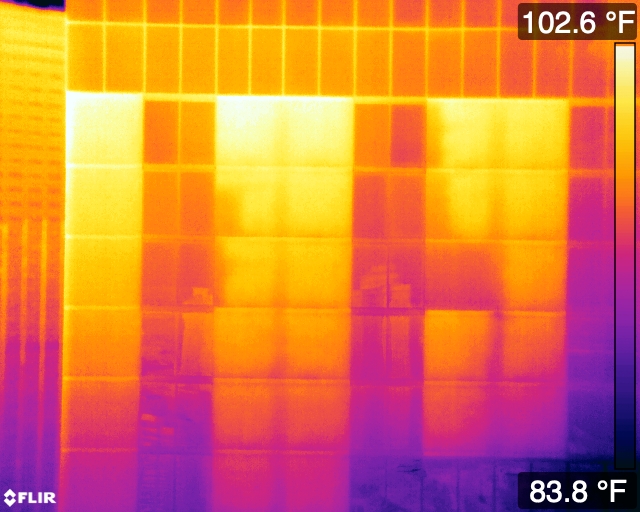
Next was to capture thermal images documenting the presence of suspected moisture in the roof and wall structures. Because this building had varying elevations and was surrounded by other 500’ tall buildings, nailing down the right infrared documentation window was challenging, but vital to the success of the operation. The roof structures proved to be easier than the walls. Each of the roofs received sufficient thermal load to study accept one small section.
Thermal Imaging
Two of the walls received a lot of solar load while the other 2 received very little. The amount of solar load will affect the amount of time it takes the structure to cool down enough to create enough temperature differential between the suspected wet vs dry portions of the structure. The first step involved studying the buildings orientation, considering other buildings around it, understanding when and how the sun will rotate around the building and then estimating what time of day or night we estimate needing to capture our thermal images. Based on those time estimates, we then planned when we would perform our imaging sessions on each structure. For this project, our estimates were off a little bit on the walls, but spot on for the roofs. To ensure you are in the right operating window, sometimes it is helpful to capture multiple data sets at different times to see how the data sets change with time.
Physical Testing
For this job, we were asked to perform non-destructive moisture meter testing on the roof structures to help confirm the presence of moisture. As our final step in the field investigation process, we utilized a Tramex RWS moisture meter to get the job done. From the imagery, we identified a number of different areas that were of concern, but presented puzzling results. This step, along with the chance to study the membranes condition, helped to solve some of those uncertainties and helped us to pinpoint exactly what was going on with these roofs.
The Results
We were able to provide the engineer we partnered with on the project a detailed overview of the condition of the roofs and walls of the structure immediately after being deployed. The results from the thermal images, identifying where suspected moisture is present, and visible images, identifying where visible defects or openings exist, prove to be helpful for developing a game plan to base a further physical inspection off of when alternative resources are deployed to physically inspect the building. The use of this technology has the ability to save days, if not weeks, worth of time and money on large scale/ large loss investigations.
