I received a phone call about a building in Melbourne, Florida. The building maintenance engineer expressed concern for major leaks experienced in the main entrance of the building. I was told they think they had multiple problems that contributed to the leaks, but they had difficulties tracking down the source and properly performing repairs to keep water out of the building and he wanted to know how we could help.
My initial site visit painted a good picture of what might be going on, but had no idea the extent of damage present. Numerous wet towels were on the floor along the windows from recent rains, a lot of repairs had been attempted on the exterior walls, and water stains were observed from the interior. The maintenance engineers were confident the problems were in the walls or windows, not the roof.
From the site visit, we put together a proposal to perform a thermal and visible scan of the roof and walls associated with the front entrance of the building. This step is the first phase of the inspection process and is recommended to help map out where moisture is present in the structure and narrow down areas in the building envelope we suspect the moisture might be getting in.
There were known leaks in the building, but the challenge was understanding the origination of those leaks. The roof was on the suspect list of the source of the leak in spite of how new it was. The roof had been replaced only a few years back.
The Roof

The roofs construction is comprised of a Thermoplastic Polyolefin (TPO) membrane with ISO boards for insulation. The image to the left is the definition of what a clean and dry TPO roof should look like in a thermal image. The thermal image indicated very little temperature differential throughout the structure indicating the leaks were not in correlation with the roof structure.
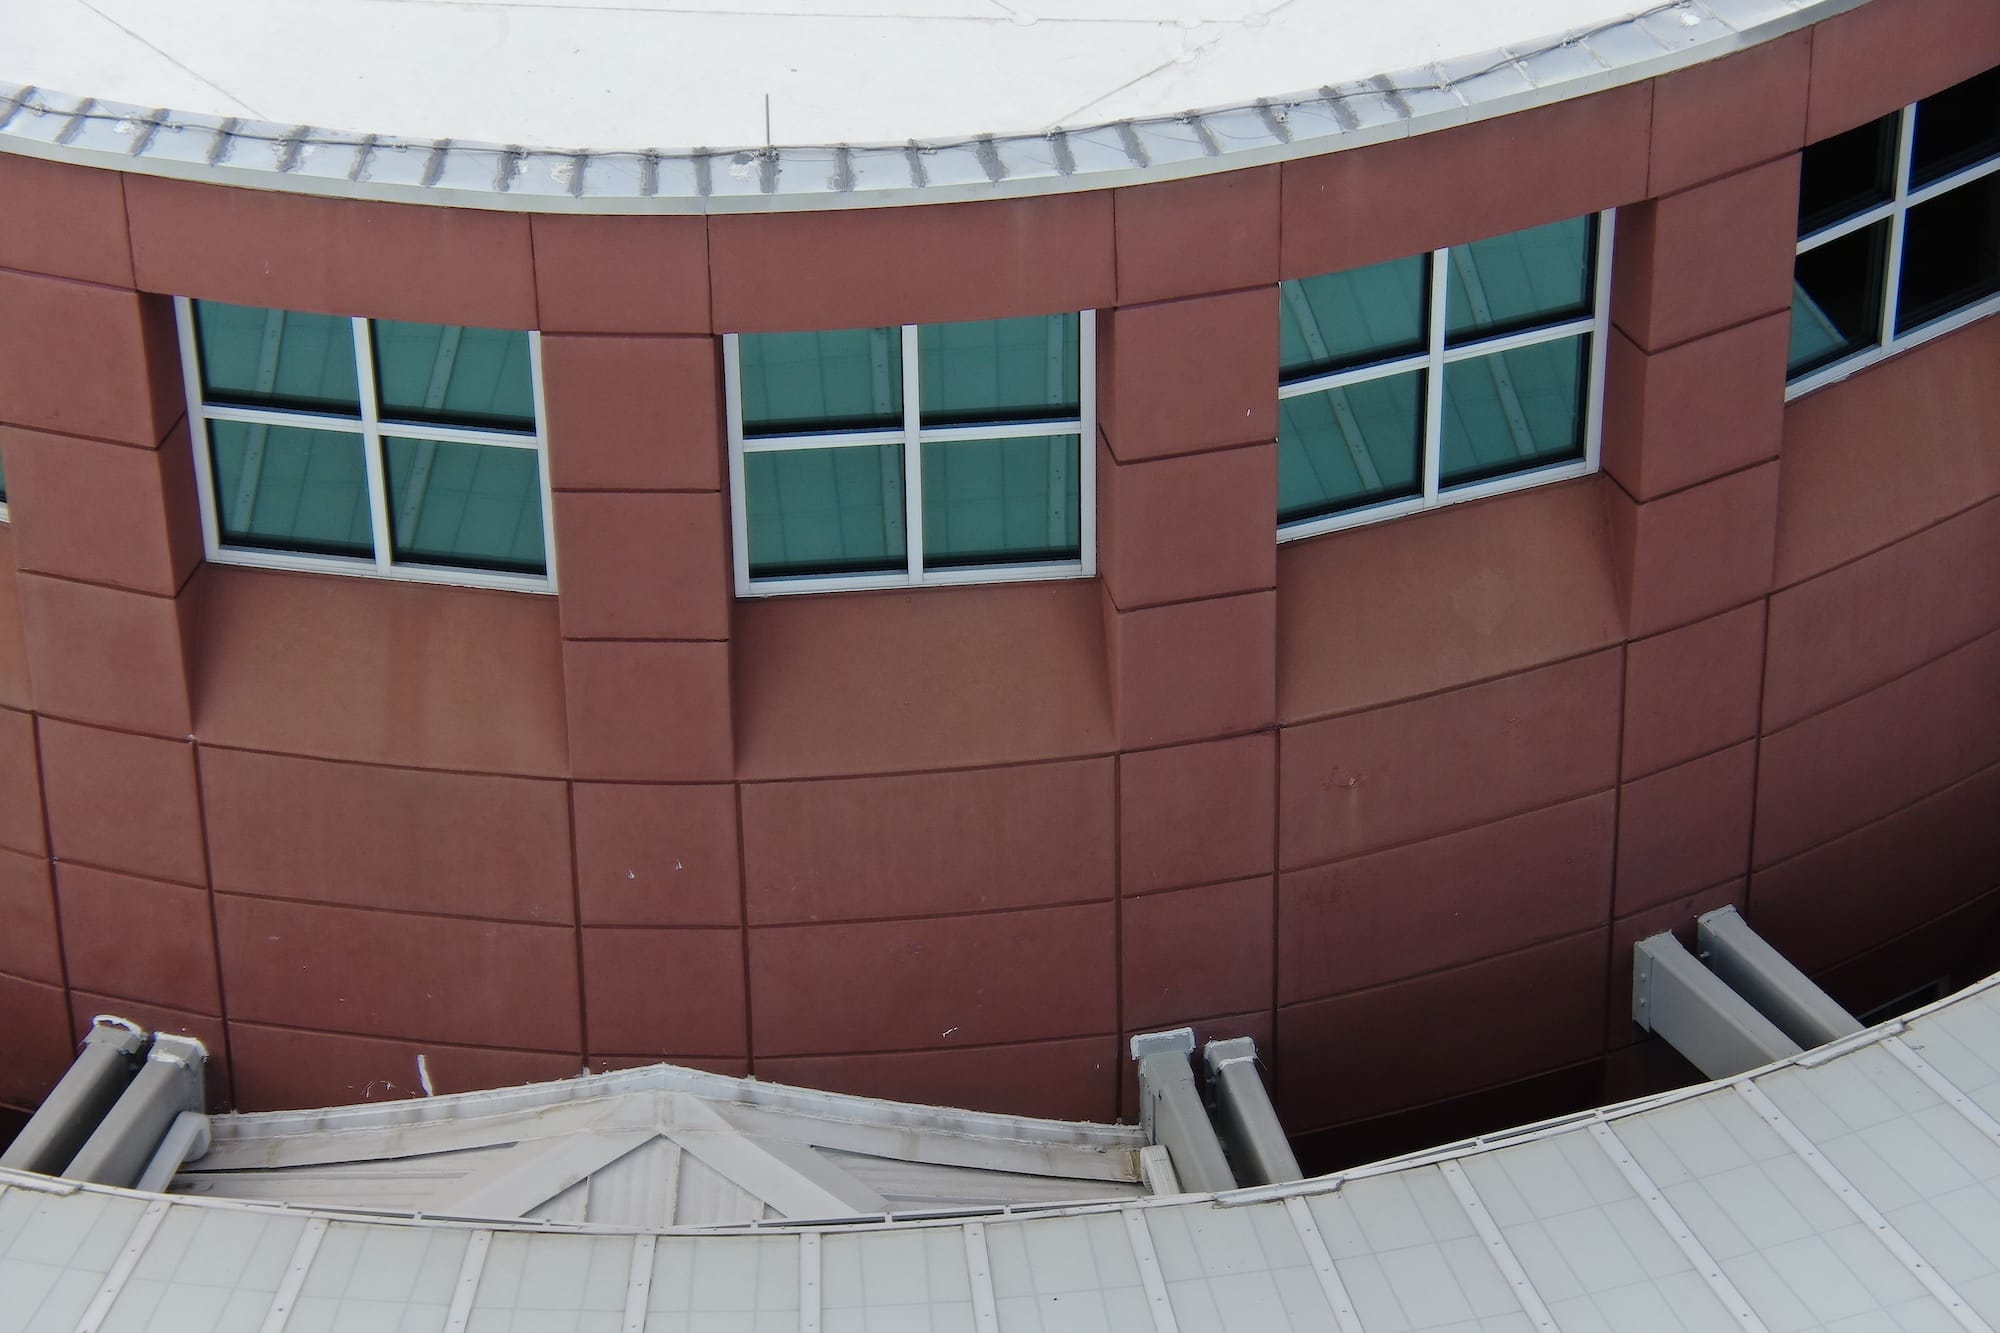
The walls construction is comprised of precast tilt wall concrete with insulation in the middle and numerous windows throughout. Protruding out of the front of the building is a small entry way that affixes to the front of the building.
The Walls

From the exterior, multiple locations were observed that reflected moisture damage including paint, water staining, visible mold growth, various cracks and multiple attempted repairs as observed in the visible images. The thermal images reflected heavy amounts of suspected moisture present in a number of different places that correlate with some of the openings noted.
The image to the left shows multiple of the repairs and exterior paint damage caused by moisture damage that correlates with thermal anomalies in the structure.
What’s Next?
We know problems exist. We know there is a substantial amount of moisture within the walls. We know moisture actively leaks in to the building when it rains. We know there are a number of problems observed from the outside of the building. So what is the next step? The next step is to take our moisture map and get hands on with the structure. From this point, we will be bringing in a consultant we have a strategic partnership with to help perform physical testing and confirm how moisture is getting in to the building. Once the locations are validated, we can then make recommendations on what steps need to be taken to properly remedy the damaged locations to ensure these problems do not persist.


