Once a low sloped or flat roof ages, difficult leaks and maintenance problems become a nightmare to track down and properly repair. Traditional methods of finding a leak involves studying where the leak is coming through to the inside of the building and then walking the roof to try and narrow down where it could be. Most of the time, experience helps to find the point of entry to perform the leak, but other times, it can be very challenging. For those persistant and stubborn leaks, you may have to consider alternative methods to track down the entirety of the area that needs repair.
So what moisture testing methods can be the most effective and efficient for tracking down leaks? The 2 methods we deploy are thermal imaging and impedance or capacitance handheld moisture meters. Both have advantages and disadvantages but are capable of identifying moisture and help to trace the leak back to the opening in the roof.
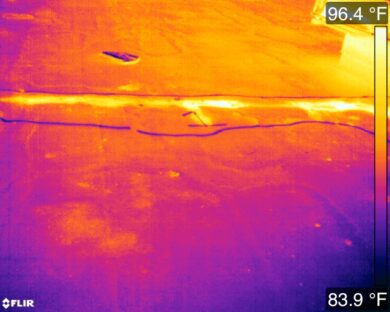
Thermal imaging uses temperature data to outline where moisture is present in the roof. In many cases, the cooler temperature readings in or around a wet spot correlate with the opening. In other situations, if it is actively wet from a recent rainfall with little wind, the opening could reflect higher temperature readings if there happens to be more moisture present in that area. The advantage is being able to get a good visual representation of the wet spot and easily identify where it is. A disadvantage is you need specific conditions to be able to get temperature readings that reflect moisture.
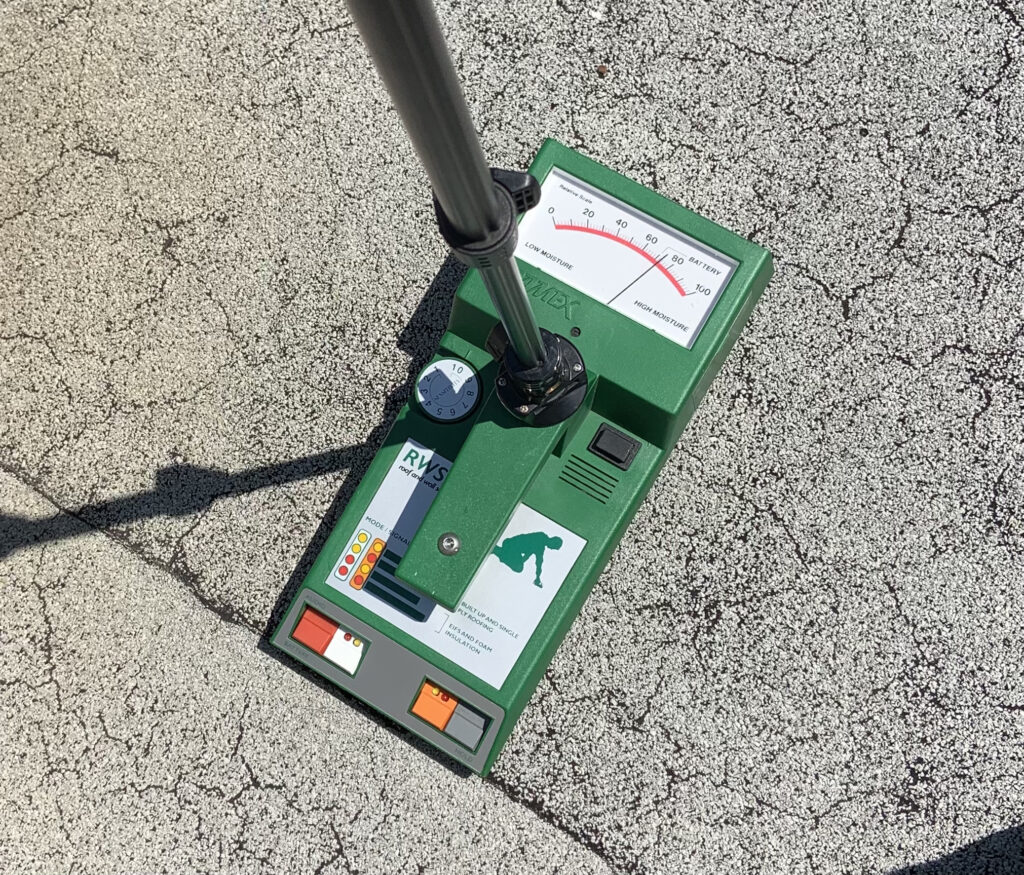
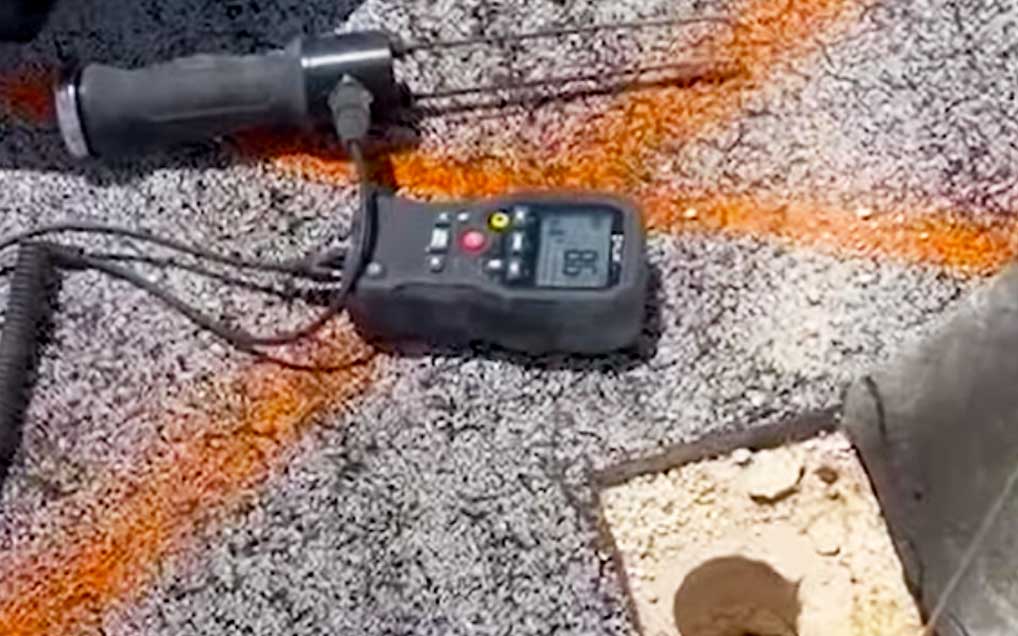
Impedance and capacitance moisture meters are another great resource. They only require the surface of the roof to be dry for it to work properly and can otherwise be deployed at any time of day. The best place to start is where you suspect the problem to exist. Working in a grid pattern in the area until you find a wet spot. Once you find a wet location, you can work your meter in a pattern until you have the entire location outlined, helping to narrow down the possible opening.